-
01. Nakama Gameserver 설치Server/Nakama 2020. 7. 19. 10:38
Heroic Labs | Nakama
Never choose between gameplay or infrastructure Nakama delivers everything you need for realtime, social, and multiplayer experiences. You focus on building amazing games, while Nakama gives you an open-source toolbox to build, deploy, and monetize.
heroiclabs.com
지난 달에 개발했던 퍼즐게임을 위한 랭킹서버 구축이 필요했었다. 원래는 spring boot 기반의 was 를 구축하여 랭킹서버로 사용하려고 했으나, 오픈소스 게임서버 프레임워크 중에서 Nakama 가 괜찮다고 하여 검토 끝에 도입을 하였다.
더보기오픈소스 게임서버 랭킹은 아래에서 볼 수 있다.
https://awesomeopensource.com/projects/game-server
The Top 59 Game Server Open Source Projects
awesomeopensource.com
1위는 사이트가 중국어 기반이었고(어딘가에 영어 레퍼런스가 있을테지만...), 2위는 홈페이지 조차 없어서...
차선으로 3위를 선택했다.
우선 설치를 위해서는 database를 설치해야 한다.
특이하게도 nakama는 postgresql 기반의 cockroachDB를 데이터베이스로 쓰고 있는데, cockroachDB는 이름 그대로 바퀴벌레 같은 생존성을 자랑하는 데이터베이스이다.

CockroachDB vs PostgreSQL - A quick database comparison
CockroachDB is a distributed SQL (“NewSQL”) database built on a transactional and strongly-consistent key-value store. It’s heavily inspired by Google’s Spanner with many similarities.
tableplus.com
다만 그래서인지 몰라도 단일 서버 상에서 cockroachDB는 제 성능을 발휘하지 못한다. 즉 단일 서버로 운영되는 게임의 db로는 적합하지 않은 셈. 대규모 트래픽에 허우적거릴 게임이면 모를까 단일 서버에서는 사치인 것이다.
게다가 cockroachDB만의 이슈인지 몰라도, 서버가 재시작되었을 때 데이터베이스를 제대로 못불러오는 이슈가 있었다. 정확히 트러블슈팅하지 않았지만, 대략적으로 예상이 되는 것은 서버가 재시작이 되었을 때, DB가 종료된 것을 장애처리 하면서 뭔가 꼬인 느낌이었다. 아마도 설정을 통해 해결할 수 있을테지만... 애초에 postgresql에서는 발생 안하는 이슈였기에, 고민 끝에 postgresql로 데이터베이스를 선택하였다.
주의!
Nakama는 postgresql를 비공식적으로 지원한다. 그리고 상용(Production)환경에서는 CockroachDB를 사용할 것을 권고하고 있다.

Nakama는 Docker 설치를 지원하고 있지만, 상용환경에서는 바이너리 인스톨을 권장하고 있다.

여기서는 권장사항에 따라 바이너리 설치를 할것이다.
https://heroiclabs.com/docs/install-binary/
Binary install - Nakama server
Binary install To start developing with Nakama, you’ll first need to install it on your development machine. It’s straightforward and takes just a few minutes. In this guide we’re going to focus on installing your Nakama development instance usin
heroiclabs.com
1) 서버 선택
AWS 호스팅에서 ubuntu 서버를 선택한다. AWS의 자체 리눅스인 Amazon Linux 1 이나 Amazon Linux 2는 솔직히 문제점이 많다. Amazon Linux 1 의 경우, Rhel 6 버전과 호환이 되는 것을 목표로 하고 있지만, Amazon Linux 2는 Rhel과는 거리가 먼 그 무언가가 되어가고 있다. 흔히 Amazon Linux 1가 Rhel 6 기반이라고 알고 있는데, AWS의 공식 답변은 Rhel과는 별개의 리눅스 버전이며, Rhel 6 와의 호환성을 고려하고 있다고 말한다.
https://forums.aws.amazon.com/thread.jspa?threadID=51647
아마존의 자체 OS 부심 때문에 관리 이슈를 늘릴 이유가 하등 없으므로 아마존 리눅스는 없다고 생각하고 선택하지 말자.
그러면 남은 것은 Rhel 과 Ubuntu인데, Rhel은 상용 리눅스으로 가격표가 다르다.
(이거 모르고 선택했다가 호스팅 비용을 3배로 내고 있었다...)
결론은 Ubuntu인 셈. 물론 AMI 검색을 해보면 CentOS 이미지도 있다.
2) Postgres 설치
apt-get update
apt-get install postgresql-12
dpkg -l | grep postgre
3) Nakama 설치
wget https://github.com/heroiclabs/nakama/releases/download/v2.12.0/nakama-2.12.0-linux-amd64.tar.gz
tar xvzf nakama-2.12.0-linux-amd64.tar.gz
4) Postgres 설정 (Local 접속 시 password 생략하도록 설정)
(배포판에 따라 설정파일 경로가 다르므로, find를 통해 찾을 것)
find / -name "pg_hba.conf"
vim /etc/postgresql/12/main/pg_hba.conf
하단 설정을 아래와 같이 변경
# "local" is for Unix domain socket connections only
local   all             all                                     peer
# IPv4 local connections:
#host    all             all             127.0.0.1/32            md5
host    all             all             127.0.0.1/32            trust
# IPv6 local connections:
#host    all             all             ::1/128                 md5
host    all             all             ::1/128                 trust
# Allow replication connections from localhost, by a user with the
# replication privilege.
local   replication     all                                     peer
host    replication     all             127.0.0.1/32            ident
host    replication     all             ::1/128                 ident
5) Nakama 초기설정
postgres migrate up
nakama migrate up --database.address "postgres@localhost:5432"

# 안될 경우, 하단처럼 유저를 지정
sudo -u postgres nakama migrate up --database.address "postgres@localhost:5432"
설정파일 생성
name: nakama-node-1
data_dir: "./data/"

logger:
  stdout: false
  level: "warn"
  file: "/tmp/path/to/logfile.log"

metrics:
  reporting_freq_sec: 60
  namespace: ""
  stackdriver_projectid: ""
  prometheus_port: 0

database:
  address:
    - "root@localhost:26257"
  conn_max_lifetime_ms: 0
  max_open_conns: 0
  max_idle_conns: 100

runtime:
  env:
    - "example_apikey=example_apivalue"
    - "encryptionkey=afefa==e332*u13=971mldq"
  path: "/tmp/modules/folders"
  http_key: "defaultkey"

socket:
  server_key: "defaultkey"
  port: 7350
  max_message_size_bytes: 4096 # bytes
  read_timeout_ms: 10000
  write_timeout_ms: 10000
  idle_timeout_ms: 60000
  write_wait_ms: 5000
  pong_wait_ms: 10000
  ping_period_ms: 8000 # Must be less than pong_wait_ms
  outgoing_queue_size: 16

session:
  encryption_key: "defaultencryptionkey"
  token_expiry_sec: 60

social:
  steam:
    publisher_key: ""
    app_id: 0

console:
  port: 7351
  username: "admin"
  password: "password"

cluster:
  join:
    - "10.0.0.2:7352"
    - "10.0.0.3:7352"
  gossip_bindaddr: "0.0.0.0"
  gossip_bindport: 7352
  rpc_port: 7353
서비스 등록
/usr/lib/systemd/system/nakama.service
[Unit]
Description=Nakama server

[Service]
ExecStart=/path/to/nakama --config /path/to/nakama/config.yml
KillMode=process

[Install]
WantedBy=multi-user.target
권한 변경과 서비스 시작
sudo chmod 644 /usr/lib/systemd/system/nakama.service
sudo systemctl enable nakama
sudo systemctl start nakama

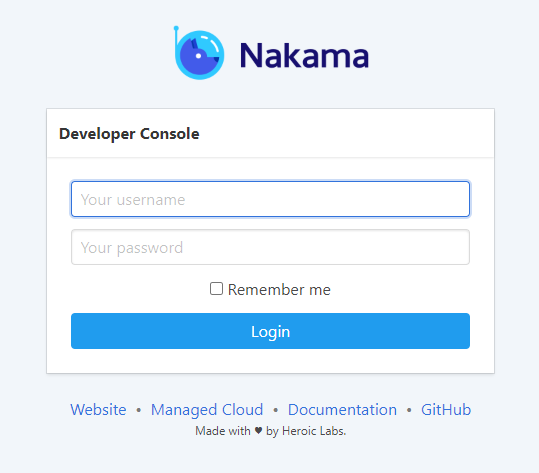
서비스 시작 후, 접속하면 뜨는 개발자 콘솔 페이지. 기본포트는 7351

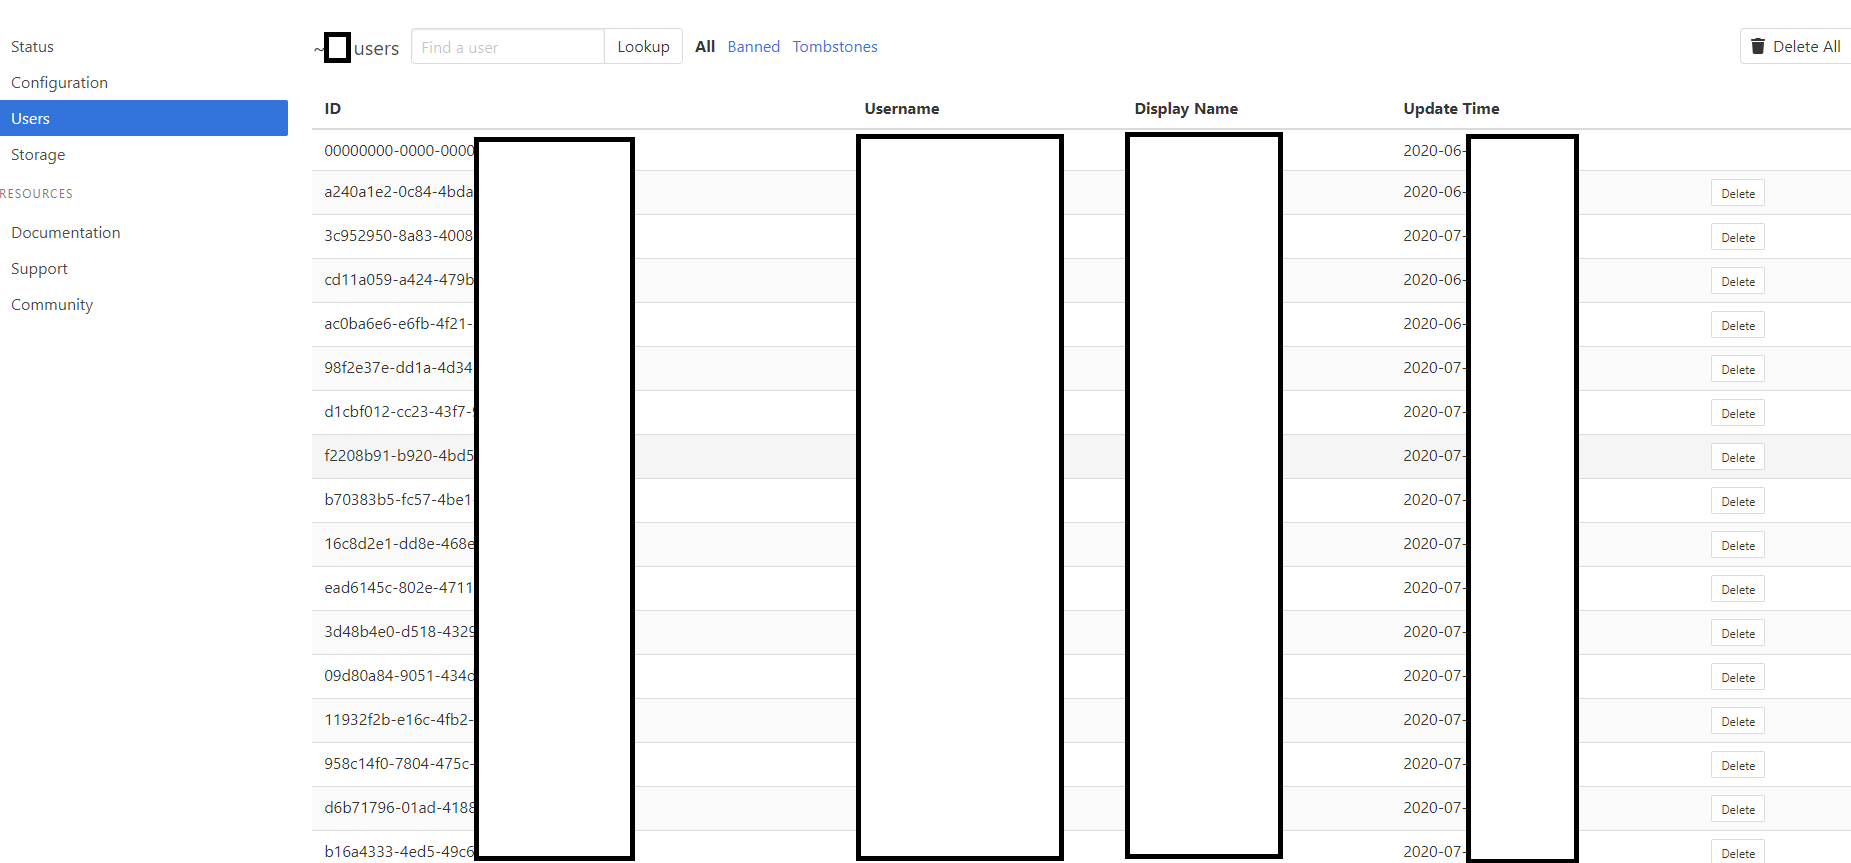
현재 운영중인 게임의 유저목록.